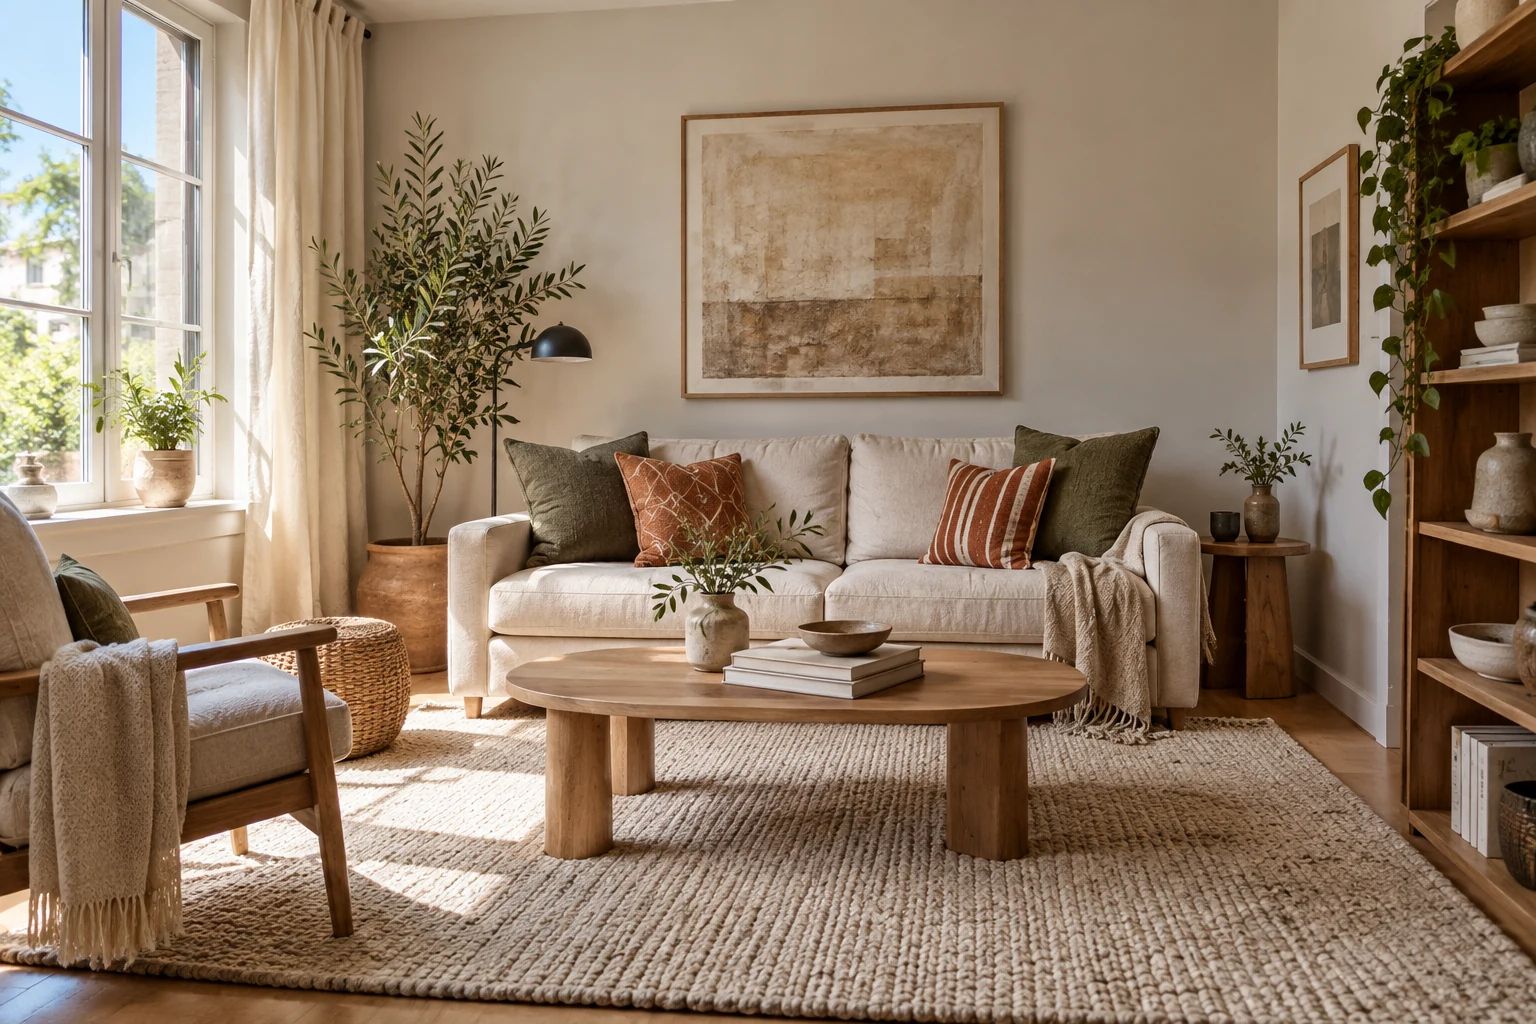
9 Zero-Cost Rearrangement Tricks
You have stood in your doorway and thought the same thing I used to think: this room is too small, and fixing it means spending money I don’t have. New shelves. A lighter rug. Maybe paint. That was my plan for two years, and my bedroom stayed cramped the whole time.
Then I moved everything out to clean the floors and walked back in. The room felt twice the size — with the same four walls. Nothing was gone. Nothing was new. The furniture was the problem, not the square footage.
This guide shows you how to make a small room look bigger using only what is already inside it. You will pull out what blocks the eye, move furniture off the walls in a specific way, and redirect the light you already have. Every trick here works because of how human vision reads space — and I explain the reason behind each one, so you can apply them in any room later.
Set aside 1 to 3 hours. Most individual changes take under 20 minutes. You need no tools, no budget, and no design experience. Clear the floor, open a window, and start with the hardest part: taking things out.
What You Need
You already own all of it. If something on this list is missing, skip it — nothing here is required.
- Three empty boxes or laundry baskets
- A trash bag
- Any mirror you already own
- Every lamp in your home
- A damp cloth
- Your phone camera
- A tape measure or a ruler
- Old socks or felt pads (for sliding furniture)
- One helper, if furniture is heavy
- Two hours and an open window
At a Glance
9 Things To Do Today · Zero Cost
Phase 1 — Declutter First
- Strip the room down to essentials only
- Open up empty floor space in every corner
- Clear a direct sight line from the doorway
Phase 2 — Rearrange Second
- Float furniture 12 inches off the walls
- Angle one large piece diagonally
- Position mirrors to multiply your light
Phase 3 — Style Third
- Layer your existing lights at three heights
- Push dark colors back, bring light ones forward
- Draw the eye upward with vertical arrangements
Before and After: What Actually Changes
Same room. Same furniture. Same four walls. Here is what shifts.
- Every piece pushed flat to a wall
- Corners packed with bags and boxes
- One ceiling light, flat and harsh
- Doorway view blocked at chest height
- Surfaces covered edge to edge
- Walls end at 4 feet, blank above
- Furniture floated, gap visible behind
- At least two corners fully bare
- Three light sources at three heights
- Clear view to the far wall on entry
- Two-thirds of each surface empty
- Eye pulled to the ceiling line
Photograph your room from the doorway before you start. You will not believe the difference otherwise.
1. Strip the room down to essentials only
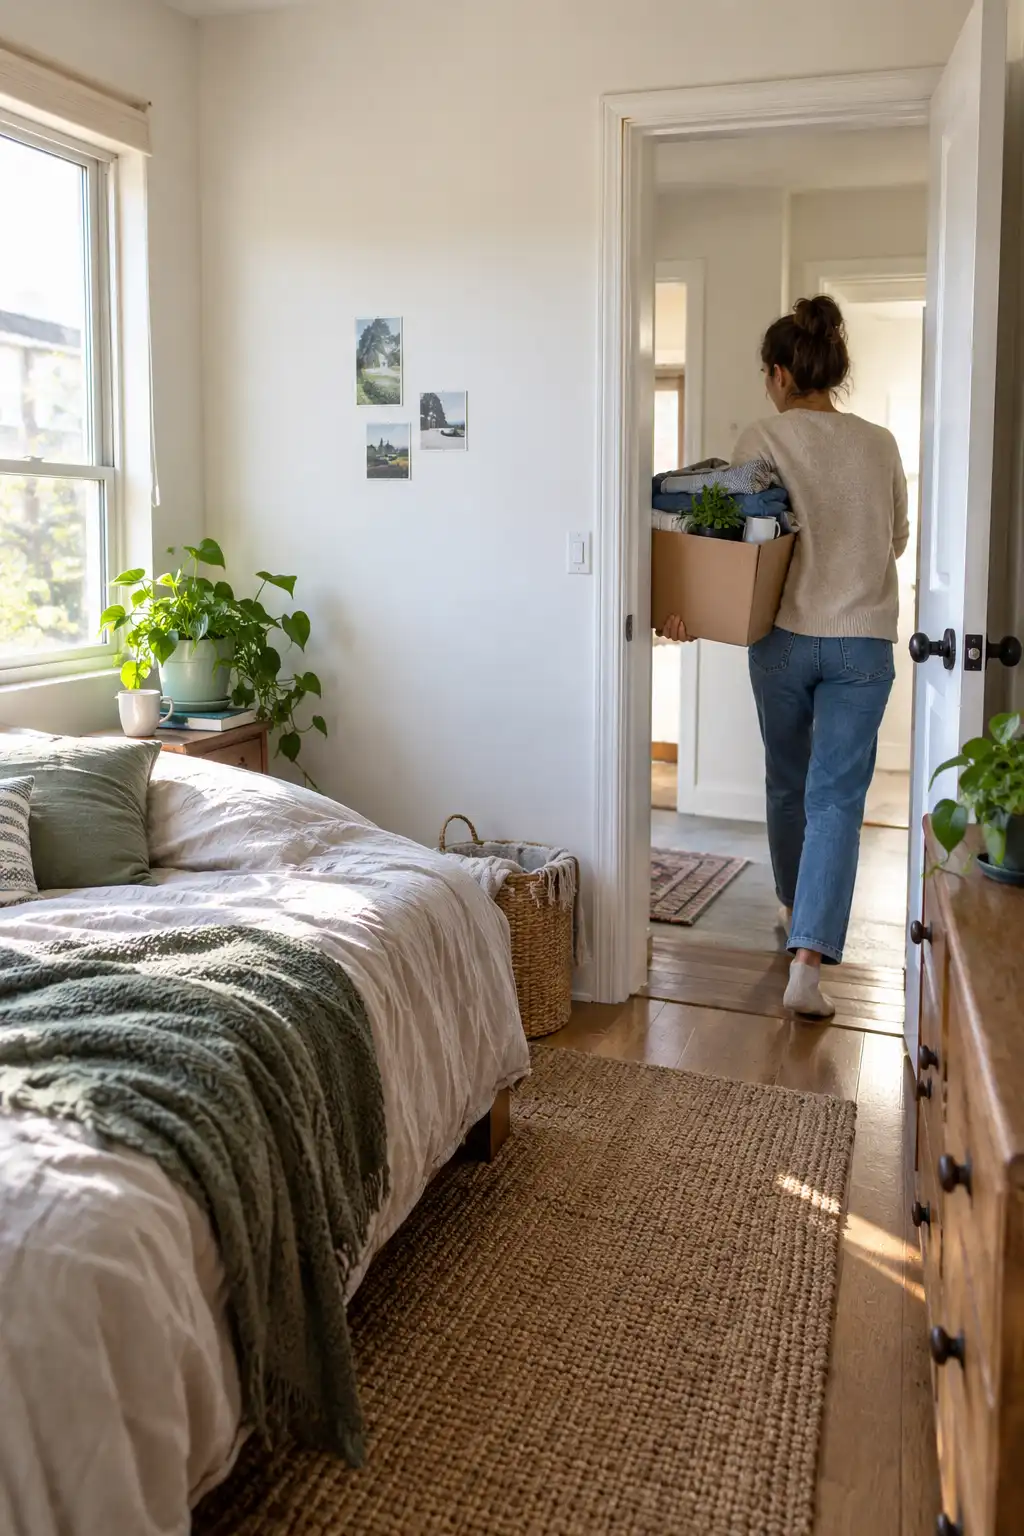
Remove everything that isn’t furniture, bedding, or a light source. All of it — floor piles, chair-back laundry, surface clutter, the half-full boxes under the desk. Move it to another room entirely.
The room will look bare and slightly sad. That is the point. Your eye needs a blank reading of the actual space before you decide what earns its way back in. Most people never see their room empty, so they measure it by how full it feels instead of how big it is.
Give this 20 to 30 minutes.
2 Open up empty floor space in every corner
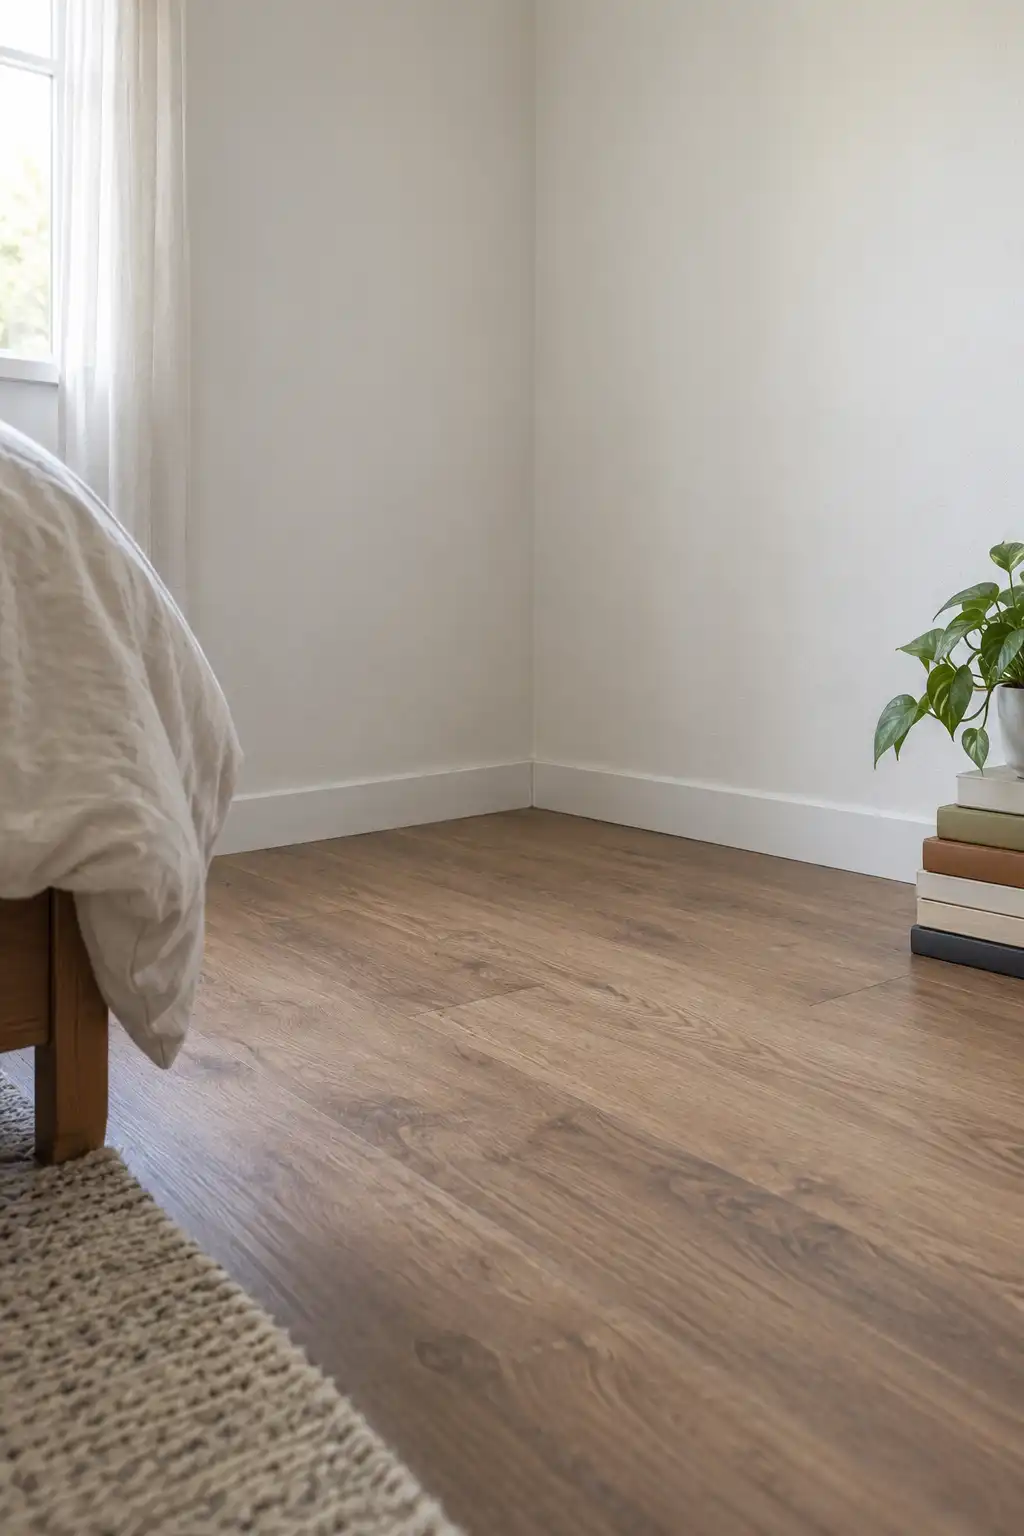
Corners are where visual space dies. A bag propped in one, a stack of books in another, and the brain reads the room as ending several inches early on all sides.
Pick two corners and leave them completely bare — floor visible, nothing leaning, nothing stacked. The far corners from the door matter most, because those are the ones your eye lands on first when you walk in.
If a corner holds something that cannot move, like a radiator or a wardrobe, clear the floor at least 18 inches out from its base instead.
Visible floor is the single strongest signal of size a room can send. Any square foot of bare floor your eye can trace reads as available space — even if you never walk on it. Clearing under a bed or behind a door buys you more perceived room than moving a whole sofa.
3 Clear a direct sight line from the doorway through the room
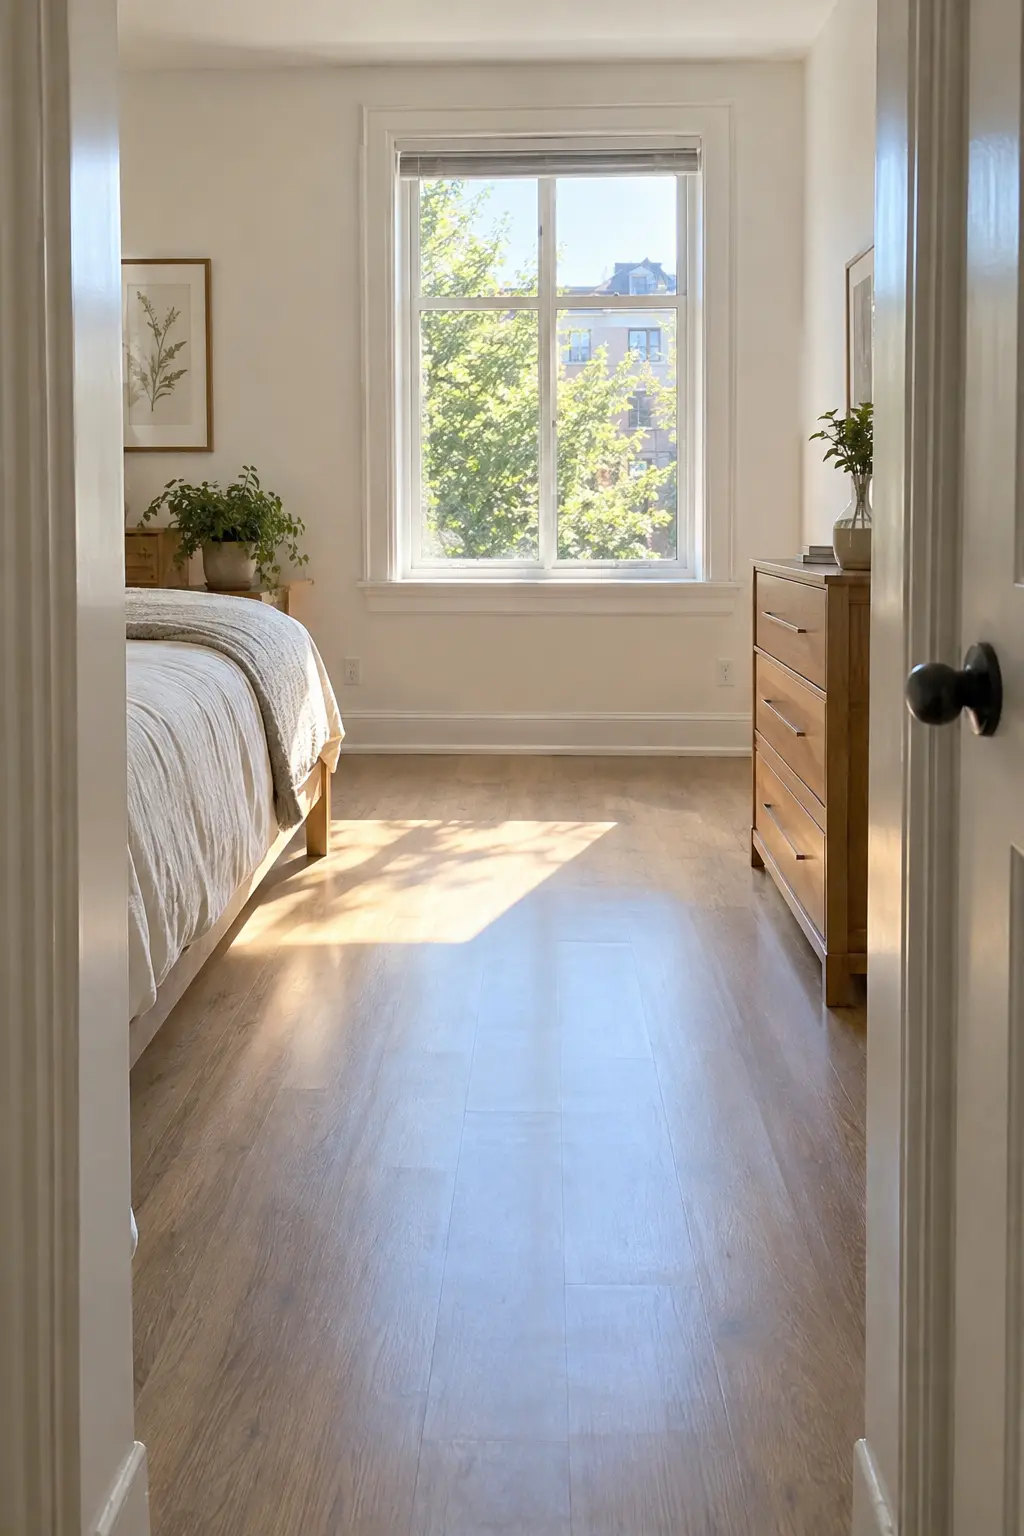
Stand in the doorway and look straight ahead at eye level. Anything sitting between you and the far wall — a chair back, a tall lamp, an open shelf — cuts the room in half before you have taken a step.
Move those pieces out of that center channel. Low items are fine. A bed, a bench, or a coffee table sits below your sightline and does not interrupt it.
Keep a walking path at least 30 inches wide running from the door to the window or far wall. Rooms feel small when the body has to turn sideways to cross them.
4 Float furniture at least 12 inches away from walls
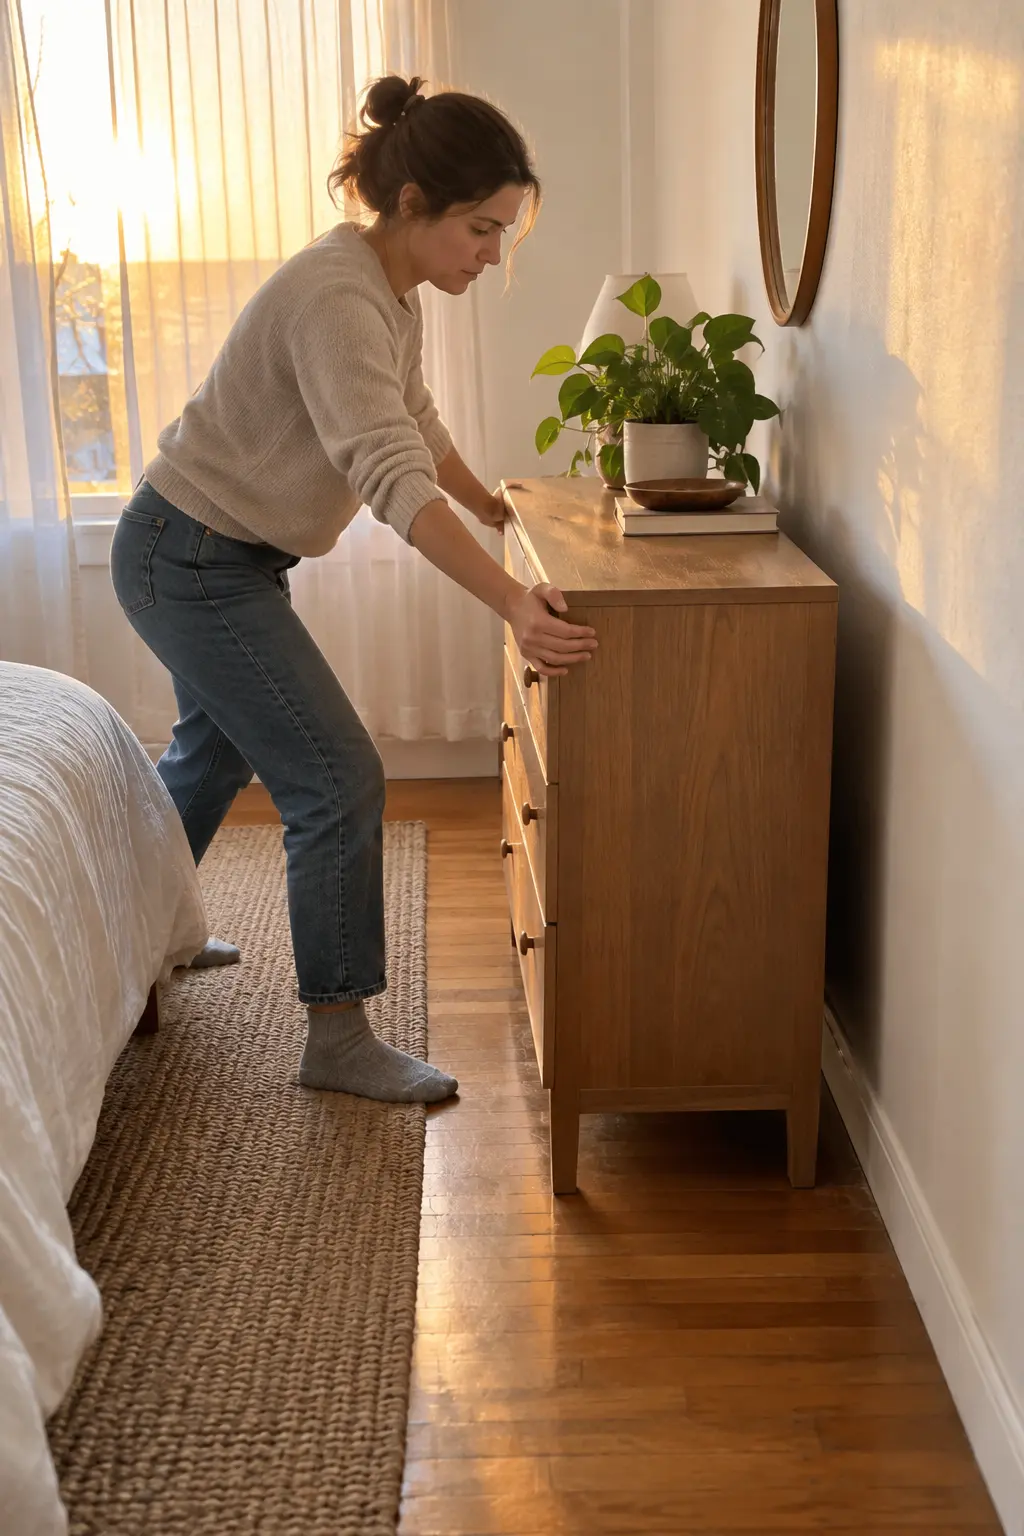
Twelve inches is the number that changes a room. Pull your largest piece — bed, sofa, dresser — forward until that gap sits behind it, then check the walking space in front.
This feels wrong the first time. Everyone assumes wall-hugging saves space. It does the opposite: when furniture touches the wall, the eye reads the furniture edge as the room edge and stops there. A visible gap tells your brain the wall continues past the object, so the room reads deeper than it measures.
Short on room? Six inches still works.
Furniture Placement: Do and Don’t
The five moves that matter most
- Push every piece flat against a wall
- Line tall furniture along the entry wall
- Center a big piece in the doorway view
- Park two bulky items in the same corner
- Leave legs hidden behind skirts or boxes
- Leave a 6–12 inch gap behind large pieces
- Keep tall furniture on the far wall only
- Put low items in the center sightline
- Spread bulk across opposite walls
- Expose furniture legs so floor shows through
Why it works: Your eye measures a room by how much floor it can trace uninterrupted. Every gap, every visible leg, every clear corner adds to that count.
5 Angle one large piece diagonally to widen the room
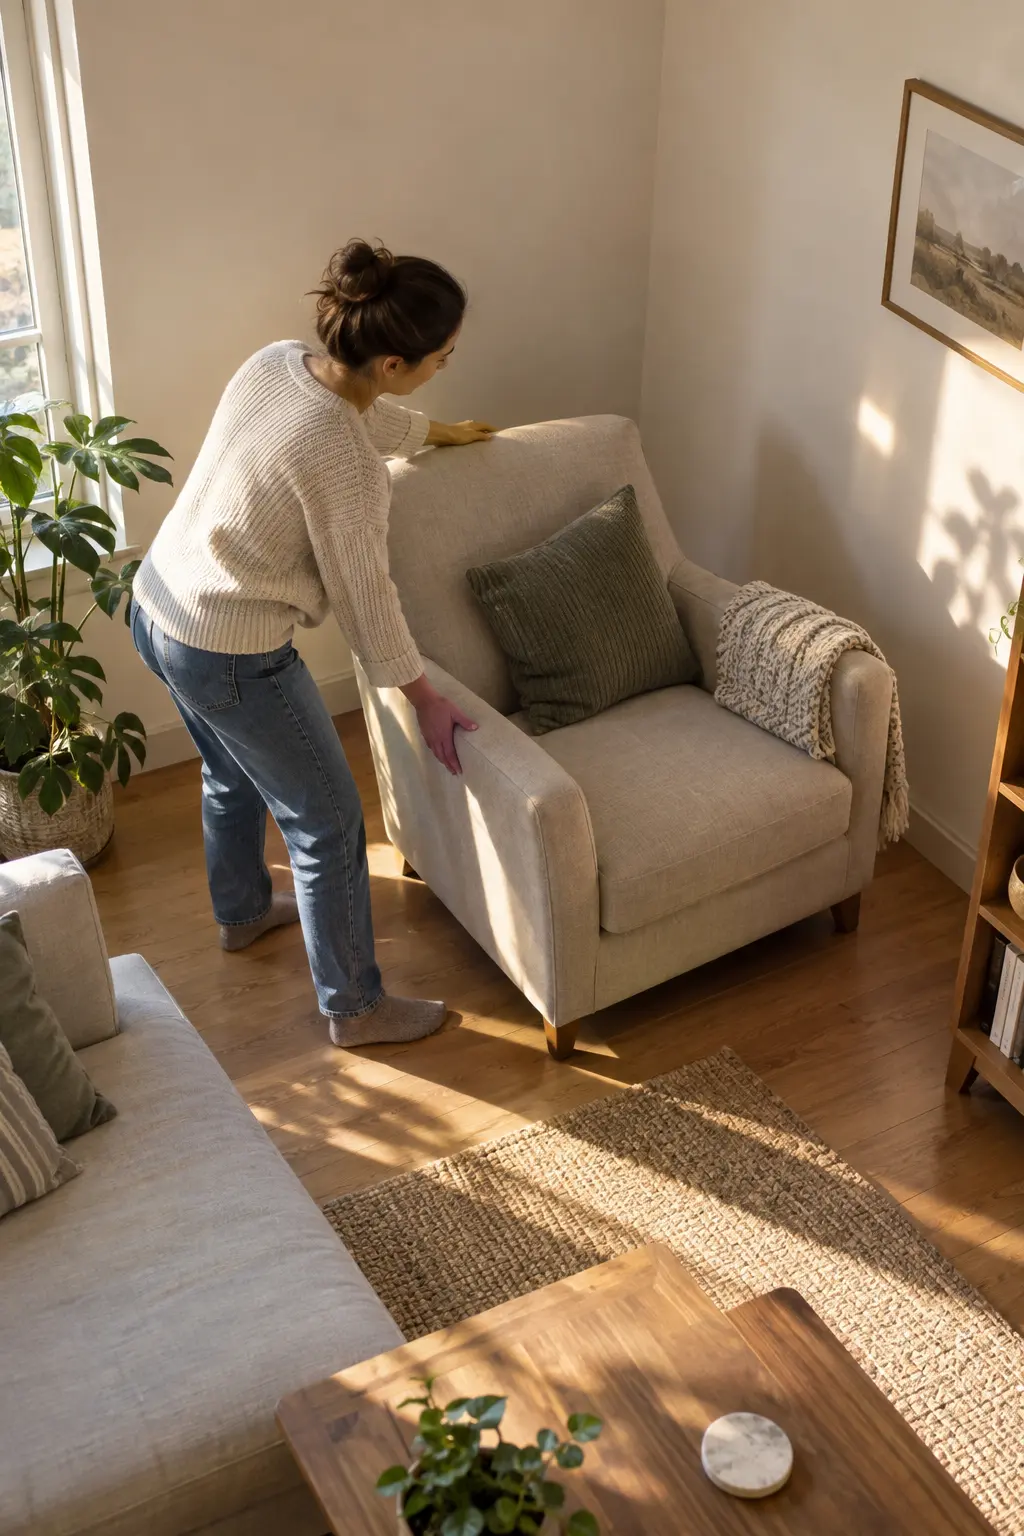
Which wall is your longest? Find it, then turn one substantial piece — an armchair, a desk, a dresser — so it sits at roughly 45 degrees to that wall instead of parallel to it.
Here is the reason this works, and it is worth understanding: a square or rectangular room gives your eye four straight lines to follow, and the shortest one sets your sense of the room’s size. A diagonal introduces a longer line — the hypotenuse — that runs corner to corner. Your brain follows the longest available line when judging distance. One angled piece hands it a line that is physically longer than any wall in the room, and the space reads wider without a single inch changing.
Angle one piece only. Two or more and the room turns into an obstacle course.
Never angle a piece that blocks a door swing, a window, or a heat vent. Test the door fully open before you commit. In rooms under 80 square feet, skip this step entirely — a diagonal eats floor space that a small room cannot spare, and you will lose more than you gain.
6 Position mirrors to multiply existing light sources
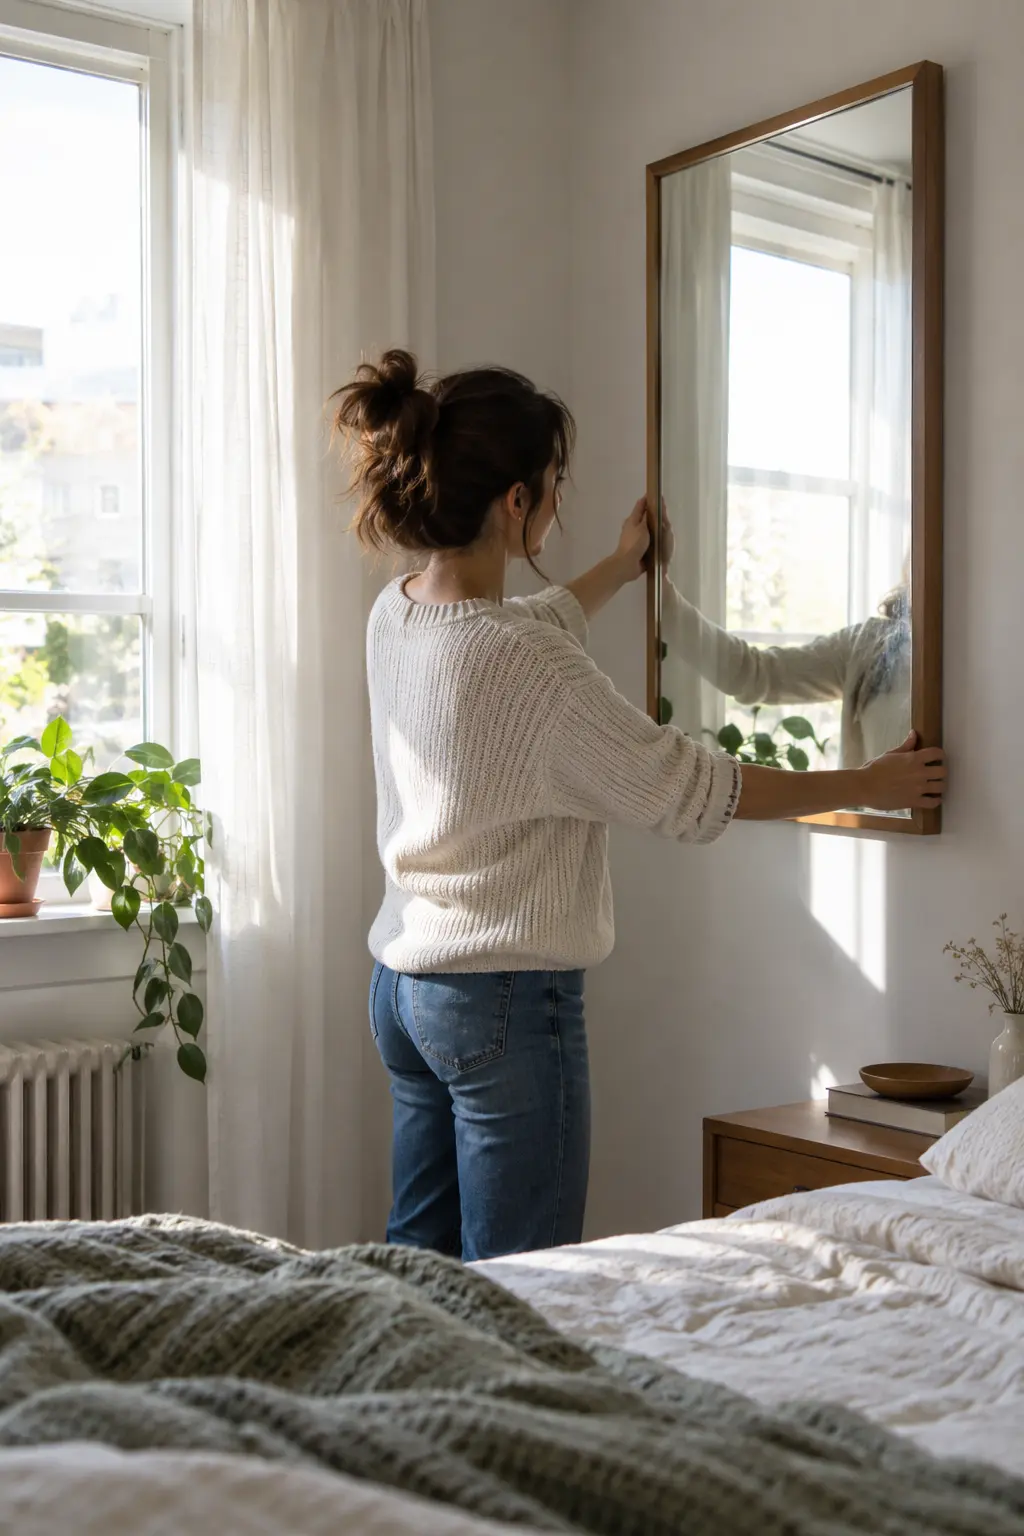
Say you own one mirror. Where it hangs decides whether it doubles your room or does nothing at all.
Place it on the wall at a right angle to your window, not the wall directly opposite. A mirror facing a window reflects the outside view flatly. A mirror set perpendicular catches that light and throws it sideways across the room, which brightens the wall your eye reads as the far boundary.
Check the reflection before you commit: it should show open space or a light source — never a cluttered surface or a closed door.
Where to Put the Mirror You Already Own
Same mirror, four possible walls. Only two of them help.
Wall at 90° to the window. Bounces daylight deep into the room instead of straight back out.
End of a narrow room or hallway. Reads as a continuing passage and stretches the length.
Behind a lamp. Turns one bulb into two visible light sources after dark.
Directly facing the window. Reflects glare, not space.
Facing a cluttered shelf or worktop. Doubles the mess and makes the room feel fuller.
Below waist height. Nothing useful reflects at that level — mount the center at roughly 57 inches from the floor.
No wall mirror? Lean a full-length one against the wall in a bare corner, or prop a closet-door mirror at a slight angle. Leaning works — and costs nothing.
7 Layer your existing lights at three heights
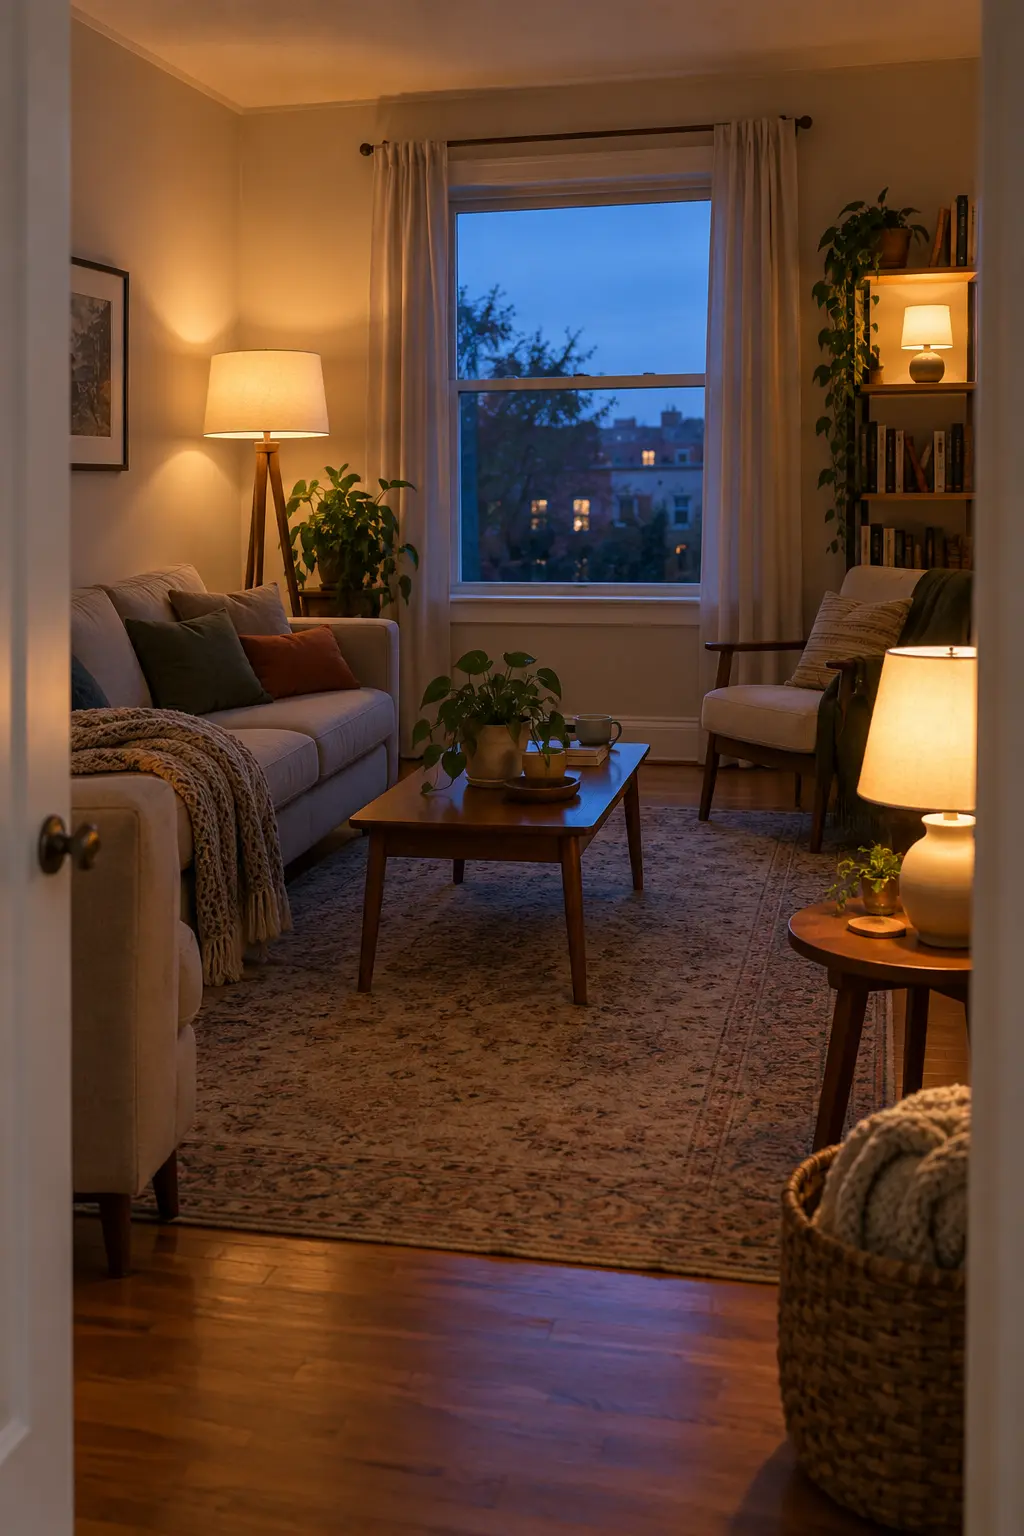
One ceiling bulb flattens a room. It throws light down from a single point, which erases the shadows that give a space depth — and a flat room reads as a small room.
Gather every lamp you own from the rest of your home. Set them at three levels:
- One on the floor or low shelf
- One at table height
- One high, on a dresser or wall hook
Turn the ceiling light off and check the difference.
8 Push dark colors to the background and bring light ones forward
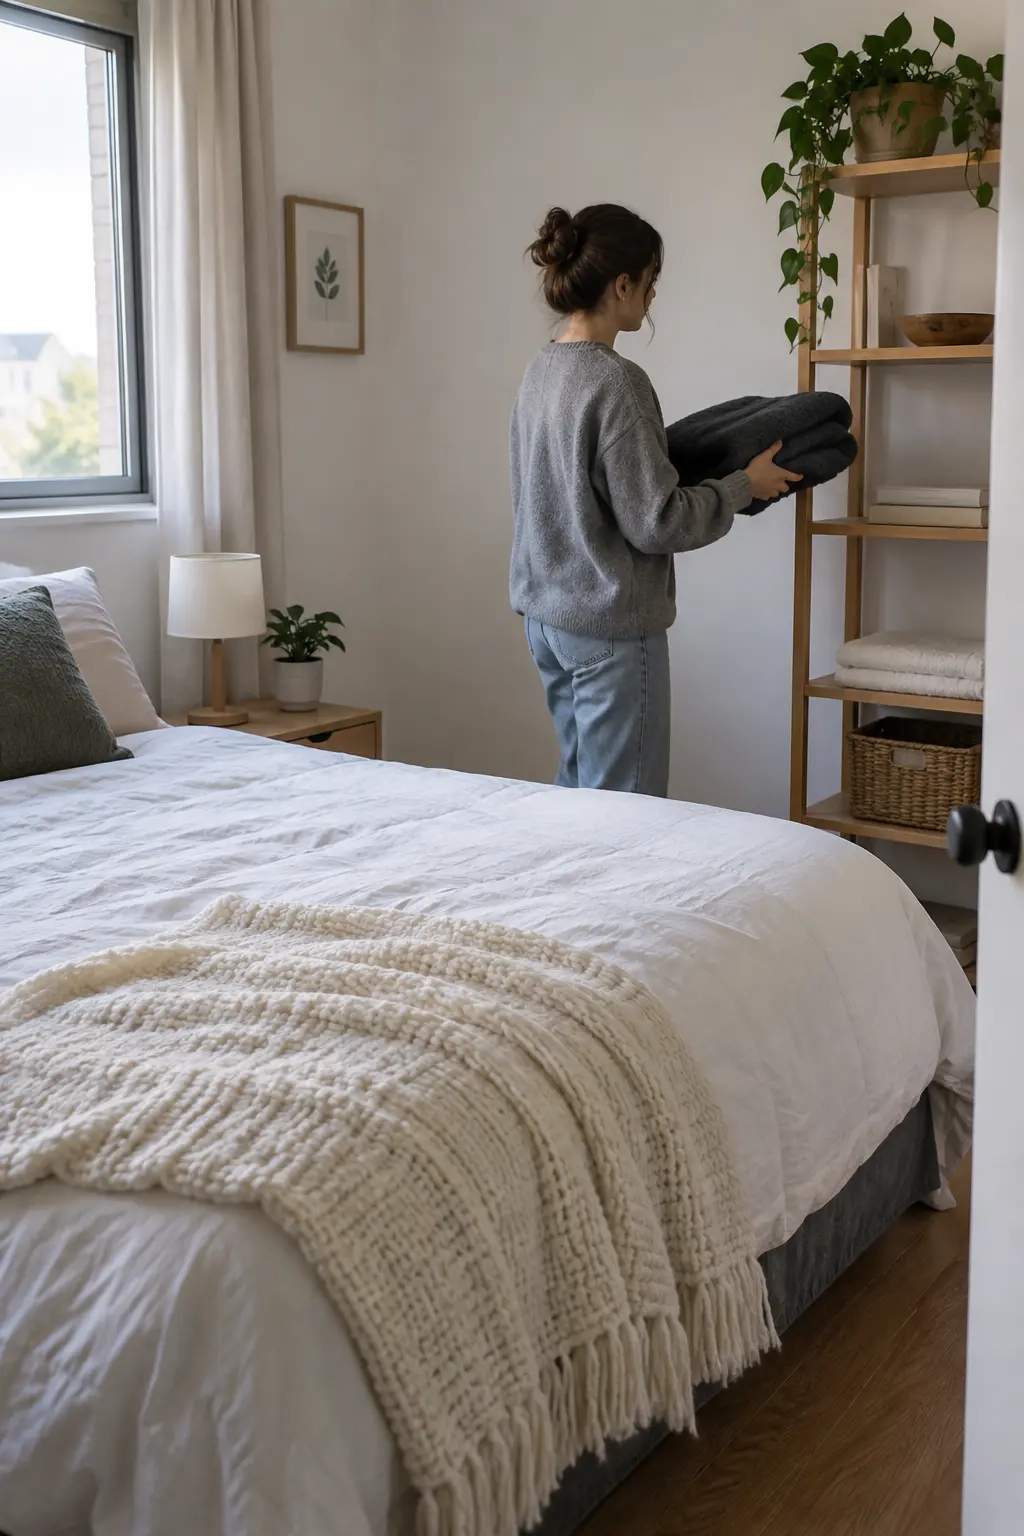
Ten minutes of swapping what you already own does most of this. Dark objects advance toward the eye. Pale ones recede. So a charcoal throw folded on the bed pulls the bed closer to you, while that same throw on the far wall’s shelf pushes that wall back.
Move your darkest pieces — blankets, storage boxes, art — to the wall furthest from the door. Bring pale ones near the entry.
Color and Light Cheat Sheet
Work with the colors already in your room. Nothing here needs paint or a purchase.
- Whites, creams, pale grey
- Raw wood and natural linen
- Anything that matches your wall color
- Reflective surfaces — glass, metal, chrome
- Bare floor where you can expose it
- Black, navy, deep brown
- Busy patterns and loud prints
- High-contrast color pairings
- Bulky dark textiles near the door
- Anything that fights the wall color
The rule underneath it all: the closer an object’s color is to the wall behind it, the less the eye registers it as taking up space. Match, and the object disappears. Contrast, and it juts forward.
9 Draw the eye upward with vertical arrangements
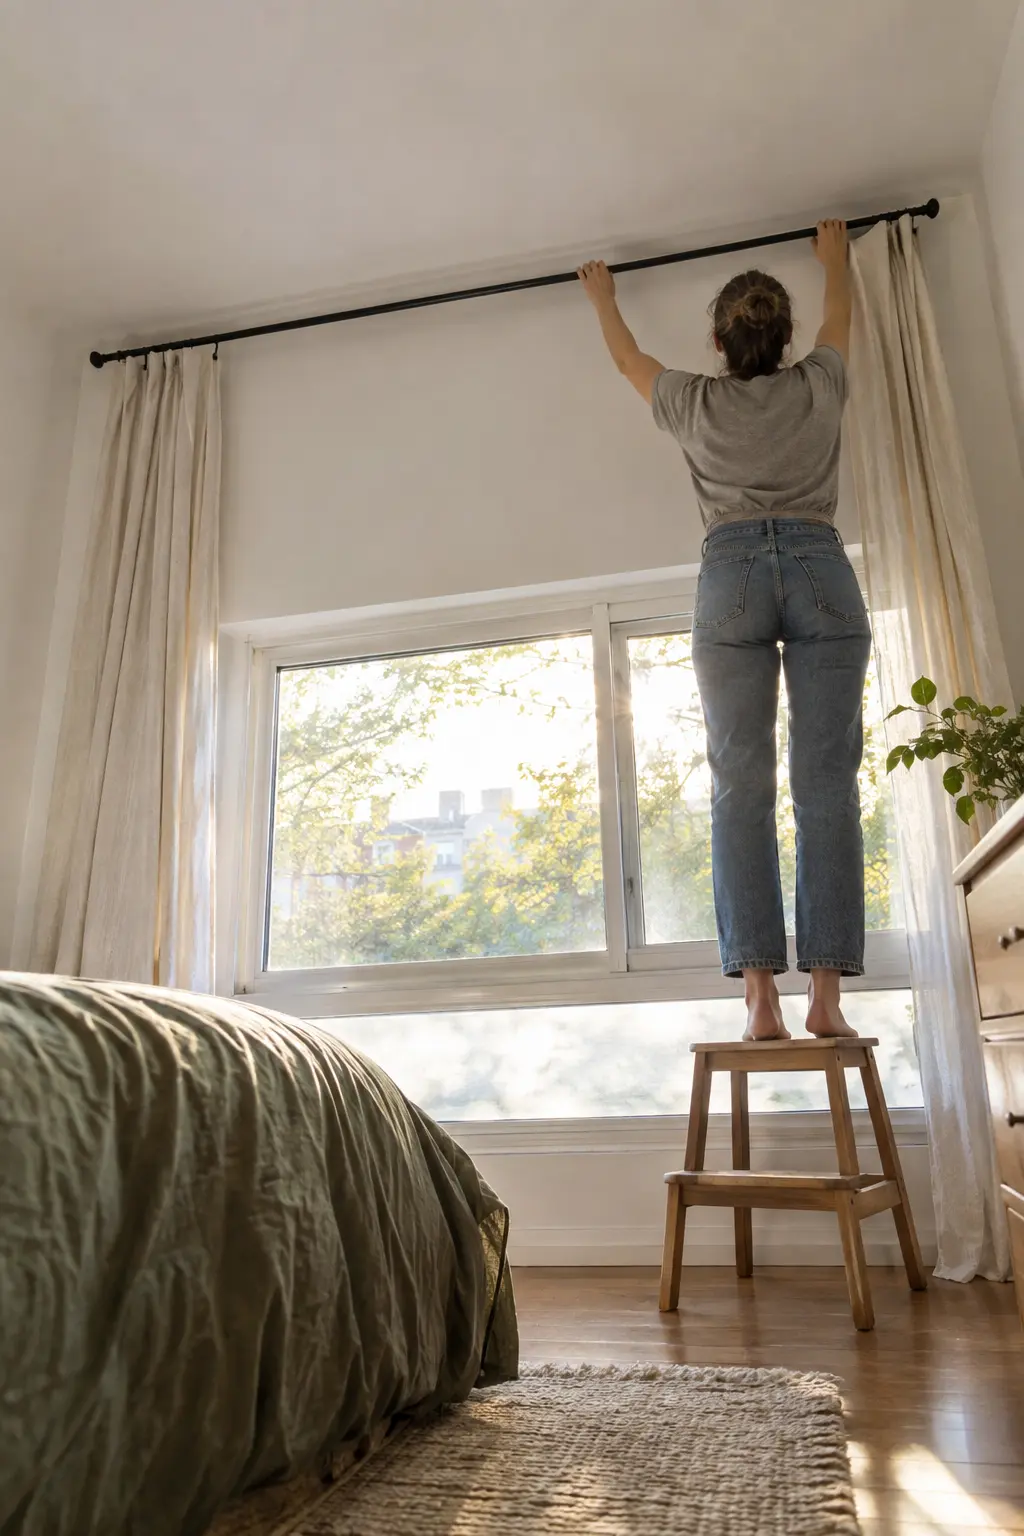
Two-thirds of most walls sit empty above the four-foot line, and that unused height is free space your room is not claiming.
Hang existing art higher than feels natural. Stack books vertically rather than in flat piles. Move a tall item into a corner so it reaches toward the ceiling.
The eye follows the highest thing in a room. Raise it, and the ceiling reads further away.
If you already own curtains, rehang the rod 4 to 6 inches below the ceiling instead of directly above the window frame. Same curtains, same window — the wall now reads as taller, and the window looks larger than it is. This is the highest-impact free change in the whole guide.
Questions Beginners Actually Ask
Does this work in a small bedroom, or only a living room?
It works in any room shape, including a small bedroom. The bed is your largest piece, so float it off the wall first and treat that as your Step 4.
What if I barely have any furniture to rearrange?
Focus on Steps 1, 2, 3, and 7 — decluttering, corners, sightlines, and lighting matter even more when a room is sparse, since every remaining object carries more visual weight.
I share this room. Can I still do this without upsetting anyone’s stuff?
Yes. Ask your roommate to pick which of their items are essential before Step 1, then apply the rest of the steps around the pieces that stay.
How long will the room actually stay looking bigger?
As long as you don’t let the corners and floor gaps refill with clutter. A five-minute reset once a week keeps the layout intact.
Do I need to do all 9 steps, or can I just do a few?
A few still help. Steps 1, 4, and 6 give the biggest visible change for the least effort if you’re short on time.
📌 Quick Reference Card
Save or screenshot this part
What You Need
Empty boxes · trash bag · your mirror · every lamp you own · damp cloth · phone camera · tape measure · felt pads or old socks
The 9 Steps
- Strip the room to essentials only
- Bare two corners completely
- Clear a 30-inch sightline from the door
- Float furniture 6–12 inches off the walls
- Angle one large piece 45 degrees
- Set mirror perpendicular to the window
- Layer lamps at three heights
- Dark colors back, light colors forward
- Hang curtains and art higher
Total time: 1–3 hours · Cost: $0
You’re Done
Stand in the doorway one more time and take that second photo. Compare it to the one from Step 1 — same angle, same room, nothing new in the frame. That difference is the whole point of learning how to make a small room look bigger: it was never about square footage; it was about what your eye was allowed to see.
Pick one step to revisit next week, once the new layout has settled and you notice what still feels tight.
Save this pin so you don’t lose the checklist before Saturday. 📌